Getting your dog easy access to the water for swimming and boating can be a challenge. Stairs and ladders don’t often work well for dogs. A dog boat ramp is a great solution, allowing pups to independently get in and out of the water safely.
Building your own DIY dog boat ramp is an easy weekend project using common materials. Ramps can be made entirely of wood, plastic, aluminum or other composites. Designs range from basic to more advanced. Consider your dog’s size, weight and swimming abilities when choosing a ramp style.
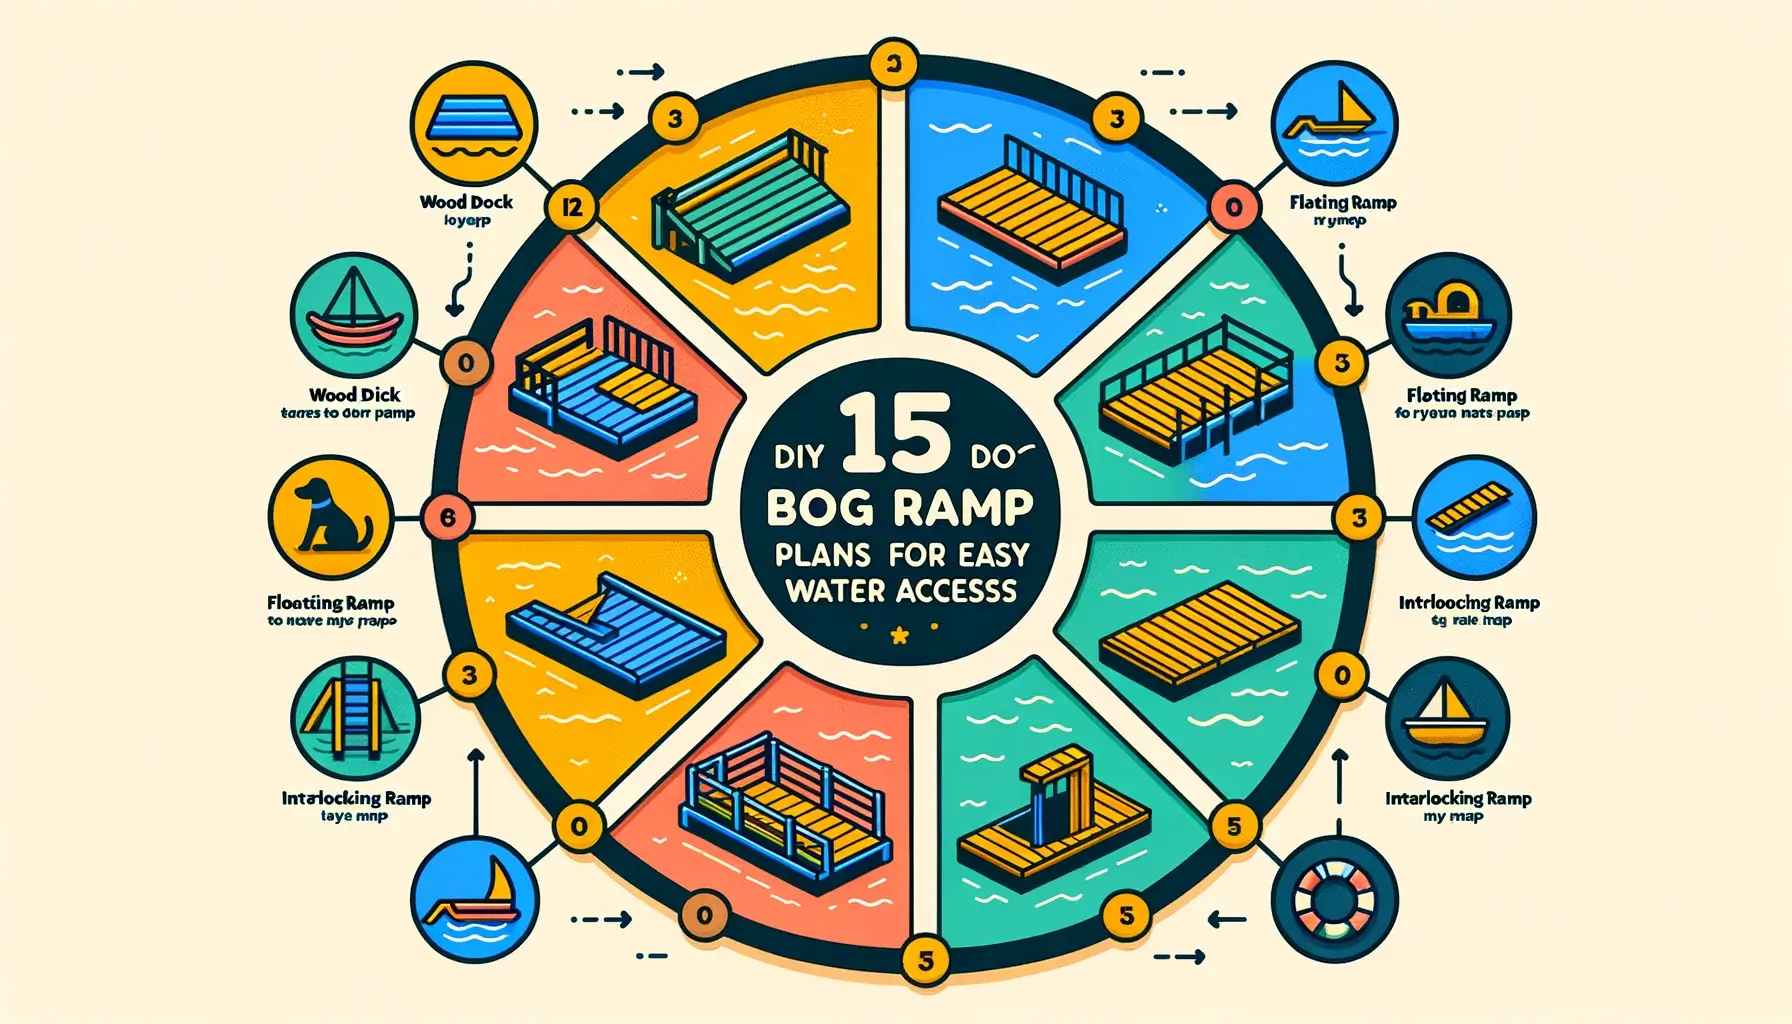
1. Wood DIY Dock and Boat Ramp
A wooden dock and boat ramp is a classic easy build using basic construction materials. Pressure treated lumber is weather resistant and provides stability in wet areas. Choose heavier and thicker boards for ramp decking to hold your dog’s weight. Allow for drainage gaps between deck boards. Match ramp width to dock size.
Materials Needed:
- Pressure treated lumber
- Wood screws
- Outdoor wood glue
- Anti-slip tape or outdoor paint
| Material | Size |
|---|---|
| Pressure Treated Lumber | 2×6 boards, 2×4 rails |
| Wood Screws | 3-4″ exterior screws |
| Outdoor Wood Glue | Waterproof adhesive |
| Anti-Slip Tape | 60 grit adhesive strips |
Building Instructions:
- Cut 2×6 boards to desired ramp length and width. Cut side railings from 2x4s.
- Assemble frame using wood screws and glue for stability.
- Attach decking material leaving small gaps for drainage.
- Add anti-slip adhesive tape strips or paint ramp surface for traction.
- Install completed ramp to dock, securing firmly.
Tips:
- Ensure ramp is gradual slope without sharp angles.
- Decking should be oriented perpendicular to ramp length.
- Weight ramp frame down for added stability.
2. Simple DIY Floating Ramp
A floating dock ramp provides easy water access from shore. Flexible ramps allow adjusting for changing water levels throughout the season. Barrel or bucket floatation creates buoyancy to support dogs up to 100 lbs.
Materials:
- Pressure treated wood
- PVC pipes or plastic barrels for floatation
- Outdoor carpet or tile for decking
| Material | Details |
|---|---|
| Pressure Treated Lumber | 2x4s for frame |
| PVC Pipe | 4″ diameter, capped |
| Plastic Barrels | 20-50 gallon |
| Outdoor Carpet | Marine-grade |
Instructions:
- Build stable frame to hold floatation. Attach floatation securely.
- Add anti-slip decking material on top.
- Secure ramp to shore with rope or chain.
Tips:
- Test floatation before use. Ramp should fully support dog’s weight.
- Use thick outdoor carpet for better traction.
- Add cleats to frame ends to prevent shifting.
3. Sturdy Interlocking Ramp
Interlocking plastic or rubber sport court tiles make ramp assembly quick. Look for heavy duty outdoor rated tiles at least 1/2″ thick. Tiles snap together and can be reconfigured into different shapes later on.
Materials Needed:
- Interlocking sport court tiles
- Border edging tiles
- Zip ties
| Material | Details |
|---|---|
| Interlocking Tiles | 12″ x 12″, textured |
| Border Tiles | 8″ x 12″, black |
| Zip Ties | 14″, heavy duty |
Instructions:
- Layout tiles in gradual ramp configuration.
- Secure tiles together with zip ties.
- Attach border edging for side rails.
- Place ramp, anchoring bottom securely.
Tips:
- Choose textured tile surfaces for paw grip.
- Start with a short ramp, adding tiles to increase length.
- Heavy duty zip ties prevent tile separation.
4. Two-Layered Wooden Ramp
A two-layer ramp creates a gradual slope for easier dog access. Having a split upper and lower section makes installation and leveling easier.
Materials:
- 2×6 pressure treated lumber
- Deck screws
- Wood glue
- Outdoor carpet
| Material | Details |
|---|---|
| 2×6 Lumber | 8′, pressure treated |
| Deck Screws | 3-4″ exterior |
| Outdoor Carpet | Marine grade |
Instructions:
- Cut and assemble two ramp frames, one shorter than the other.
- Attach frames together offset with deck screws.
- Affix outdoor carpet over ramp.
- Add side railings for safety.
Tips:
- A two-layer ramp should have maximum 1:4 slope.
- Stagger ramp layers at least 8 inches.
- Weight down ramp for stability.
5. DIY Aluminum Dog Ramp
Aluminum offers a lightweight yet strong option. Saltwater rated marine-grade aluminum alloy prevents corrosion. Cut aluminum to size using a circular saw with fine-tooth metal cutting blade.
Materials Needed:
- Aluminum sheets
- Aluminum edges
- Anti-slip tape
- Self-tapping screws
| Material | Details |
|---|---|
| Aluminum Sheets | 0.125″ 5052 alloy |
| Aluminum Edges | 1″ x 1″ angle |
| Anti-Slip Tape | 60 grit adhesive |
| Self-Tapping Screws | 1/4″ stainless steel |
Instructions:
- Cut aluminum sheets to size. File edges smooth.
- Attach edges with self-tapping screws.
- Apply anti-slip tape strips for traction.
- Secure completed ramp to dock.
Tips:
- Use marine grade 5052 aluminum alloy for saltwater.
- Create grooves or tread pattern on ramp for better grip.
- Seal edges to prevent sharpness and corrosion.
6. Above-Ground Pool Ramp
Give dogs pool access with a simple pool-side ramp. Place ramp away from high traffic pool entry areas for safety. Ramp width should match your pool deck space.
Materials:
- Pressure treated 2x4s
- Outdoor carpet or foam mats
- Grip tape
| Material | Details |
|---|---|
| 2×4 lumber | 8′, pressure treated |
| Foam mats | 1/2″ thick outdoor mats |
| Grip tape | Coarse sandpaper strips |
Instructions:
- Cut 2x4s and assemble frame for ramp.
- Attach outdoor carpet or foam mats to surface.
- Add grip tape strips for wet paws.
- Secure ramp to pool deck.
Tips:
- Use thick foam mats so ramp floats if dog walks on it.
- Place ramp near pool steps for easy in/out.
- Check ramp stability before first use.
7. DIY Cottage Dock Ramp
A simple hinged ramp design works well for cottage docks. Make ramp removable by installing hinges and securing with rope. Use at least two hinge points for ramp stability.
Materials Needed:
- Pressure treated lumber
- Hinges
- Eye hooks and rope
- Outdoor carpet
| Material | Details |
|---|---|
| Lumber | 2×6, pressure treated |
| Hinges | 4″, galvanized |
| Rope | 1/2″ braided poly |
| Outdoor carpet | Marine grade |
Instructions:
- Build 4′ ramp segment with 2x6s. Add second 4′ section.
- Connect with hinges. Drill eye hooks on sides.
- Add outdoor carpet for traction.
- Attach ropes through eye hooks to dock.
Tips:
- Use galvanized hinges for rust resistance.
- Angle ramp for easy lifting out of water when not in use.
- Ensure ropes are securely fastened.
8. DIY Ladder-Style Ramp
Mini steps create a ladder ramp ideal for smaller dogs less than 40 lbs. Add grooves or cleats to steps for paw grip.
Materials Needed:
- 2×4 lumber
- Decking boards
- Wood screws
- Outdoor paint
| Material | Details |
|---|---|
| 2×4 lumber | 8′, pressure treated |
| Deck boards | Cedar, treated |
| Wood screws | 2-3″ exterior |
| Outdoor paint | Gloss enamel |
Instructions:
- Cut 2x4s into 12″ sections.
- Arrange sections like ladder steps, securing with screws.
- Attach decking boards over steps.
- Paint ramp for visibility and traction.
Tips:
- Maximum step height 6 inches for small dogs.
- Add cleats for better footing.
- Mini stairs allow dogs to set pacing.
9. PVC Pipe Ramp
PVC offers a budget-friendly ramp build. Use larger diameter schedule 40 PVC for strength to support dogs. Allow for drainage by drilling holes along pipe underside before assembly.
Materials Needed:
- PVC pipes and connectors
- Rubber anti-slip matting
- Cable ties
| Material | Details |
|---|---|
| PVC Pipe | 3-4″ schedule 40 |
| PVC Connectors | Elbows, tees |
| Rubber Matting | 1/4″ thick outdoor mat |
| Cable Ties | 18″, heavy duty |
Instructions:
- Cut PVC pipes to length. Connect into ramp shape with fittings.
- Cover ramp surface with rubber matting, securing with ties.
- Add side railings from more PVC pipe if needed.
Tips:
- Use larger diameter PVC for greater strength.
- Spray paint ramp for visibility.
- Test load capacity before use.
10. DIY Concrete Dog Ramp
Pouring a concrete ramp creates a permanent option. Use wire remesh reinforcement for added concrete strength. Allow 1-2 weeks minimum curing time before use.
Materials Needed:
- Wooden forms
- Concrete
- Paint or textured paint additive
| Material | Details |
|---|---|
| Wood Forms | 2×6 lumber |
| Concrete | Pre-mixed bagged concrete |
| Paint | Gloss outdoor enamel |
Instructions:
- Build sturdy wooden forms for ramp shape.
- Mix concrete, pouring into forms. Let cure completely.
- Remove forms. Paint ramp for appearance and traction.
Tips:
- Use rebar or mesh for reinforcement.
- Start with small ramp, adding concrete later to extend.
- Consider adding steps or textured areas for grip.
11. Consider Ramp Slope
When building a DIY dog ramp, gradual slope is key for safety. Test a new ramp to ensure your dog can manage the incline easily.
- For pools, 15-30 degree incline is ideal.
- Larger dogs can manage steeper ramps up to 40 degrees.
- Small dogs need gentler slopes of 20 degrees or less.
Ramp surface traction also affects how steep a slope they can use. Rubber mats, carpet or grip tape improves paw grip on slick ramp materials.
12. Add Safety Railings
Railings provide an important safeguard against falls on steeper ramps. Proper railing height allows dogs to grip while preventing falls over the edges.
- Use 2x4s or plastic PVC pipe for railings.
- Attach securely at top, bottom and sides.
- Place railings 3-4 inches above ramp surface.
- Consider railings if ramp is over 2 feet high.
Extend railings the full ramp length for maximum security. For ramps attached to docks, use the dock edges as railings.
13. Improve Traction
Special surfaces provide needed paw grip on slippery ramps. Traction aids allow dogs to confidently walk up and down the ramp.
- Adhesive grip tape sheets add instant traction.
- Rubber matting or outdoor carpet work well.
- Textured or grooved deck boards improve footing.
- Paint ramps with anti-slip paints formulated for boats and pools.
Apply anti-slip treatments over the entire ramp surface as well as steps and landings. Reapply traction materials whenever they appear worn or smooth.
14. Safety Tips
When introducing your DIY dog ramp, keep these safety tips in mind:
- Initally monitor your dog using the ramp and provide assistance if needed. Offer treats as encouragement.
- Dogs may need to be trained to walk up and down properly. Never force or rush the process.
- Wide ramps are most stable. Consider adding cleats for traction on ramp sides.
- Inspect the ramp regularly for hazards and make any needed repairs.
- Remove ramps during storms or winterize as needed to prevent damage.
Always check for stability, sharp edges, and debris before letting your dog use a new ramp. Take time to let them adjust to ramp access to ensure safe experiences.
15. Make a Splash with DIY Dog Ramps!
With some simple tools and basic construction skills, you can build a customized dog ramp for your unique needs. Consider integrating special features like railings, anti-slip surfaces, or flotation. Get creative with materials – from wood to aluminum or interlocking tiles. Building your own ramp allows dogs to safely enjoy the water all season long.
Hi, I’m John and I love dogs. Ever since I was a kid, I always wanted to have a furry friend by my side. I grew up with a golden retriever named Max, who taught me a lot about loyalty, friendship, and fun. He was my best buddy for 12 years, and I miss him every day.